Creating a Movies App using Retrofit and Picasso - Part 1
06 Oct 2015
This post is part of my talk “Getting Started with Android Development” at DEvcon. We will be building a movie app that consumes a REST api using retrofit and displays images using Picasso. I see this project as a “Hello World” on steroids, so you don’t need any Android experience to complete it. However, I do recommend having some programming background using Java or another Object Oriented Programming language. This is part one where we will set up the project and a grid using a mock movie poster. In part two, we will bring in Retrofit and show real movie posters as well as detail information for each movie.
Zip Download
You may download the complete project here
Google Hangout
Setting up Android Studio
If you don’t have Android Studio, download and install it. Then follow these instructions to add SDK packages.
We’re also going to need either an emulator or a real Android device. Android Studio comes with built-in emulators but unfortunately they’re very slow on most computers. As an alternative, you can use the free version of Genymotion which provides third-party emulators that are much faster than the standard emulators.
If you have any issues setting up Android Studio or Genymotion, either leave a comment on this post or checkout StackOverflow
Setting up the project
In Android Studio, click File > New > Project…

For Application Name, enter the name you would like to give your app. For Company Domain, you can either enter your personal domain, or your email replacing the @ with a dot. e.g.: “jose.gmail.com” This makes your package name unique and your app won’t run into any issues if you decide to publish it to the app store.
Make sure you select the location where you want your project to be created by clicking on the three dots to the right of Project Location.
Once you’ve made these changes, click Next to continue

I’m setting the API level to 16 but you can set yours to any version you’d like. Since we will be using the support library, you can go back as far as API level 7. My rule of thumb is to choose API level 16 for apps that target the US only, and API level 9 for apps that target international users. Lower API levels allow you to target more devices but you cannot use all the features of newer Android versions. API level 16 is Android version 4.1 and API level 9 is Android version 2.3.3.
Once you’ve selected your preferred API level, click Next to continue.
 According to the Android Developer Documentation:
An Activity is an application component that provides a screen with which users can interact in order to do something, such as dial the phone, take a photo, send an email, or view a map. Each activity is given a window in which to draw its user interface. The window typically fills the screen, but may be smaller than the screen and float on top of other windows.
Let’s create the activity that will hold our grid of movies. Select Blank Activity and click Next when you’re ready.

You can leave the defaults or change the Title to the name of your app. Click Finish when you’re ready to continue.
In Android Studio, click Run > Run ‘app’(Shift + F10) to run your newly created app.

Not much going on. We have a TextView that says “Hello World.” We want to replace this TextView with a RecyclerView to show our movie posters. Before we can use RecyclerView, we need to include it as a dependency.
Open your build.gradle file. Not the one under your main folder, but the one inside your ‘app’ module. For me, that is PopularMovies/app/build.gradle
Add the appcompat v7 support library and the RecyclerView as dependencies. The support library might already be in your build.gradle, but if it’s not, add it under dependencies: Since we’re already working in the build.gradle file, let’s go ahead and also add Retrofit and Picasso as dependencies.
dependencies {
  compile 'com.android.support:appcompat-v7:23.0.1'
  compile 'com.android.support:recyclerview-v7:23.0.1'
  compile 'com.squareup.retrofit:retrofit:1.9.0'
  compile 'com.squareup.picasso:picasso:2.5.2'
}
Adding RecyclerView to your Main Activity
Depending on your version of Android Studio, you may have either a content_main.xml and an activity_main.xml,
or just an activity_main.xml under app/src/main/res/layout. If you have both, you will need to open content_main.xml and if you only have
activity_main.xml, then open that one. The file should look similar to this:
<?xml version="1.0" encoding="utf-8"?>
<RelativeLayout
    xmlns:android="http://schemas.android.com/apk/res/android"
    xmlns:tools="http://schemas.android.com/tools"
    xmlns:app="http://schemas.android.com/apk/res-auto"
    android:layout_width="match_parent"
    android:layout_height="match_parent"
    android:paddingLeft="@dimen/activity_horizontal_margin"
    android:paddingRight="@dimen/activity_horizontal_margin"
    android:paddingTop="@dimen/activity_vertical_margin"
    android:paddingBottom="@dimen/activity_vertical_margin"
    app:layout_behavior="@string/appbar_scrolling_view_behavior"
    tools:showIn="@layout/activity_main"
    tools:context=".MainActivity">
    <TextView
        android:text="Hello World!"
        android:layout_width="wrap_content"
        android:layout_height="wrap_content"/>
</RelativeLayout>
Let’s replace it with our RecyclerView and give it an ID so we can get a reference to it from the Activity.
<android.support.v7.widget.RecyclerView
    xmlns:android="http://schemas.android.com/apk/res/android"
    xmlns:tools="http://schemas.android.com/tools"
    xmlns:app="http://schemas.android.com/apk/res-auto"
    android:id="@+id/recyclerView"
    android:layout_width="match_parent"
    android:layout_height="match_parent"
    app:layout_behavior="@string/appbar_scrolling_view_behavior"
    tools:showIn="@layout/activity_main"
    tools:context=".MainActivity"/>
Note that we had to use the full package name for the RecyclerView. We will have to do this for any layout or widget that is not part of the Android framework. These rules apply even if the Widget is provided in one the Android support libraries.
Open the MainActivity which should be located under app/src/main/java/com.mateoj.popularmoviesdemo
Let’s get a reference to our RecyclerView
public class MainActivity extends AppCompatActivity {
    private RecyclerView mRecyclerView;

    @Override
    protected void onCreate(Bundle savedInstanceState) {
        super.onCreate(savedInstanceState);
        setContentView(R.layout.activity_main);
        Toolbar toolbar = (Toolbar) findViewById(R.id.toolbar);
        setSupportActionBar(toolbar);

        mRecyclerView = (RecyclerView) findViewById(R.id.recyclerView);

    }
If we run our app, we won’t see anything. In order for our RecyclerView to work, we need to give it an Adapter and a LayoutManager. The Adapter tells the RecyclerView what one single row or column should look like, and the LayoutManager tells the RecyclerView how to organize all those rows or columns on the screen.
Creating the Movie Class
Before we go any further, let’s create a POJO that represents a single Movie. We need this class before we can create the Adapter for our RecyclerView.
public class Movie {
    private String title;
    private String poster;
    private String description;
    private String backdrop;

    public String getTitle() {
        return title;
    }

    public void setTitle(String title) {
        this.title = title;
    }

    public String getPoster() {
        return poster;
    }

    public void setPoster(String poster) {
        this.poster = poster;
    }

    public String getDescription() {
        return description;
    }

    public void setDescription(String description) {
        this.description = description;
    }

    public String getBackdrop() {
        return backdrop;
    }

    public void setBackdrop(String backdrop) {
        this.backdrop = backdrop;
    }
}
Creating the Movies Adapter
Now that we have our Movie class, we’re almost ready to create the Movies Adapter. Before we can create it, we need to create the layout that the Adapter will use to display a row or column of data. All we’re displaying is a movie poster, so our layout will only contain an ImageView for now.
Create a new layout file under app/src/main/res/layout and name it row_movie.xml. and add an ImageView to it.
<ImageView xmlns:android="http://schemas.android.com/apk/res/android"
           android:id="@+id/imageView"
           android:layout_width="match_parent"
           android:layout_height="match_parent"
           android:adjustViewBounds="true"/>
The RecyclerView only creates enough Views to smoothly display all the data needed on the screen at any given point. For example, if we have a 2x2 grid that scrolls vertically, the RecyclerView will create a maximum of eight views. The four views currently being shown, and two above and below so that when the user scrolls the views are ready to be shown. As the user scrolls, the RecyclerView uses already created views and binds new data to them.
This is where the ViewHolder comes in. Add the following inner class to your MainActivity:
public static class MovieViewHolder extends RecyclerView.ViewHolder
{
    public ImageView imageView;
    public MovieViewHolder(View itemView)
    {
        super(itemView);
        imageView = (ImageView) itemView.findViewById(R.id.imageView);
    }
}
We’re creating a class that extends RecyclerView.ViewHolder and holds references to the views in our row layout. In this case, just an ImageView. If we have a 2x2 grid, RecyclerView will create around eight views (and ViewHolders) to display any amount of columns and rows we throw at it instead of creating a new view every time the user scrolls.
Now we’re ready to create our Adapter. For simplicity, we will create it as an inner class of our MainActivity. Feel free to create a file a new file which is what you would normally do for a production ready app.
public static class MoviesAdapter extends RecyclerView.Adapter<MovieViewHolder>
{
    private List<Movie> mMovieList;
    private LayoutInflater mInflater;
    private Context mContext;

    public MoviesAdapter(Context context)
    {
        this.mContext = context;
        this.mInflater = LayoutInflater.from(context);
        this.MovieList = new ArrayList<>();
    }

    @Override
    public MovieViewHolder onCreateViewHolder(ViewGroup parent, int viewType)
    {
        View view = mInflater.inflate(R.layout.row_movie, parent, false);
        MovieViewHolder viewHolder = new MovieViewHolder(view);
        return viewHolder;
    }

    @Override
    public void onBindViewHolder(MovieViewHolder holder, int position)
    {
        Movie movie = mMovieList.get(position);

        // This is how we use Picasso to load images from the internet.
        Picasso.with(mContext)
                .load(movie.getPoster())
                .placeholder(R.color.colorAccent)
                .into(holder.imageView);
    }

    @Override
    public int getItemCount()
    {
        return (mMovieList == null) ? 0 : mMovieList.size();
    }

    public void setMovieList(List<Movie> movieList)
    {
        this.mMovieList.clear();
        this.mMovieList.addAll(movieList);
        // The adapter needs to know that the data has changed. If we don't call this, app will crash.
        notifyDataSetChanged();
    }
}
Applying the Adapter to our RecyclerView
We have an adapter and RecyclerView. Now we have to allow them to talk to each other.
public class MainActivity extends AppCompatActivity {
    private RecyclerView mRecyclerView;
    private MoviesAdapter mAdapter;

    @Override
    protected void onCreate(Bundle savedInstanceState) {
        super.onCreate(savedInstanceState);
        setContentView(R.layout.activity_main);
        Toolbar toolbar = (Toolbar) findViewById(R.id.toolbar);
        setSupportActionBar(toolbar);

        mRecyclerView = (RecyclerView) findViewById(R.id.recyclerView);
        mRecyclerView.setLayoutManager(new GridLayoutManager(this, 2));
        mAdapter = new MoviesAdapter(this);
        mRecyclerView.setAdapter(mAdapter);
        List<Movie> movies = new ArrayList<>();

        for (int i = 0; i < 25; i++) {
            movies.add(new Movie());
        }
        mAdapter.setMovieList(movies);

    }
There are three built-in LayoutManager’s. LinearLayoutManager, GridLayoutManager, and StaggeredGridLayoutManager. LinearLayoutManager orders your views either vertically or horizontally but only one at a time. GridLayoutManager allows you to show items in a vertical or horizontal grid with an specified column or row count. StaggeredGridLayoutManager behaves just like GridLayoutManager but it also allows the grid items to fill gaps. This is very useful when your items might not be the same size.
We’re using GridLayoutManager with a span of 2 which will make our RecyclerView a grid with two columns. Then we’re adding some fake movies that we’ll replace later with real data.
If we run the app, we still won’t see anything. Our fake movies need to have a valid image when we call Movie.getPoster().
For now, we can modify our Movie class and change the Movie.getPoster() method to return an image from the internet
public String getPoster() {
    return "http://t2.gstatic.com/images?q=tbn:ANd9GcQW3LbpT94mtUG1PZIIzJNxmFX399wr_NcvoppJ82k7z99Hx6in";
}
Lastly, we need to request permission to use the device’s internet connection. For that, we can add the following line
to the app/src/main/AndroidManifest.xml right above the <application> tag:
<uses-permission android:name="android.permission.INTERNET"/>
<application
...
We can finally run our app and see our glorious Guardians of the Galaxy posters:
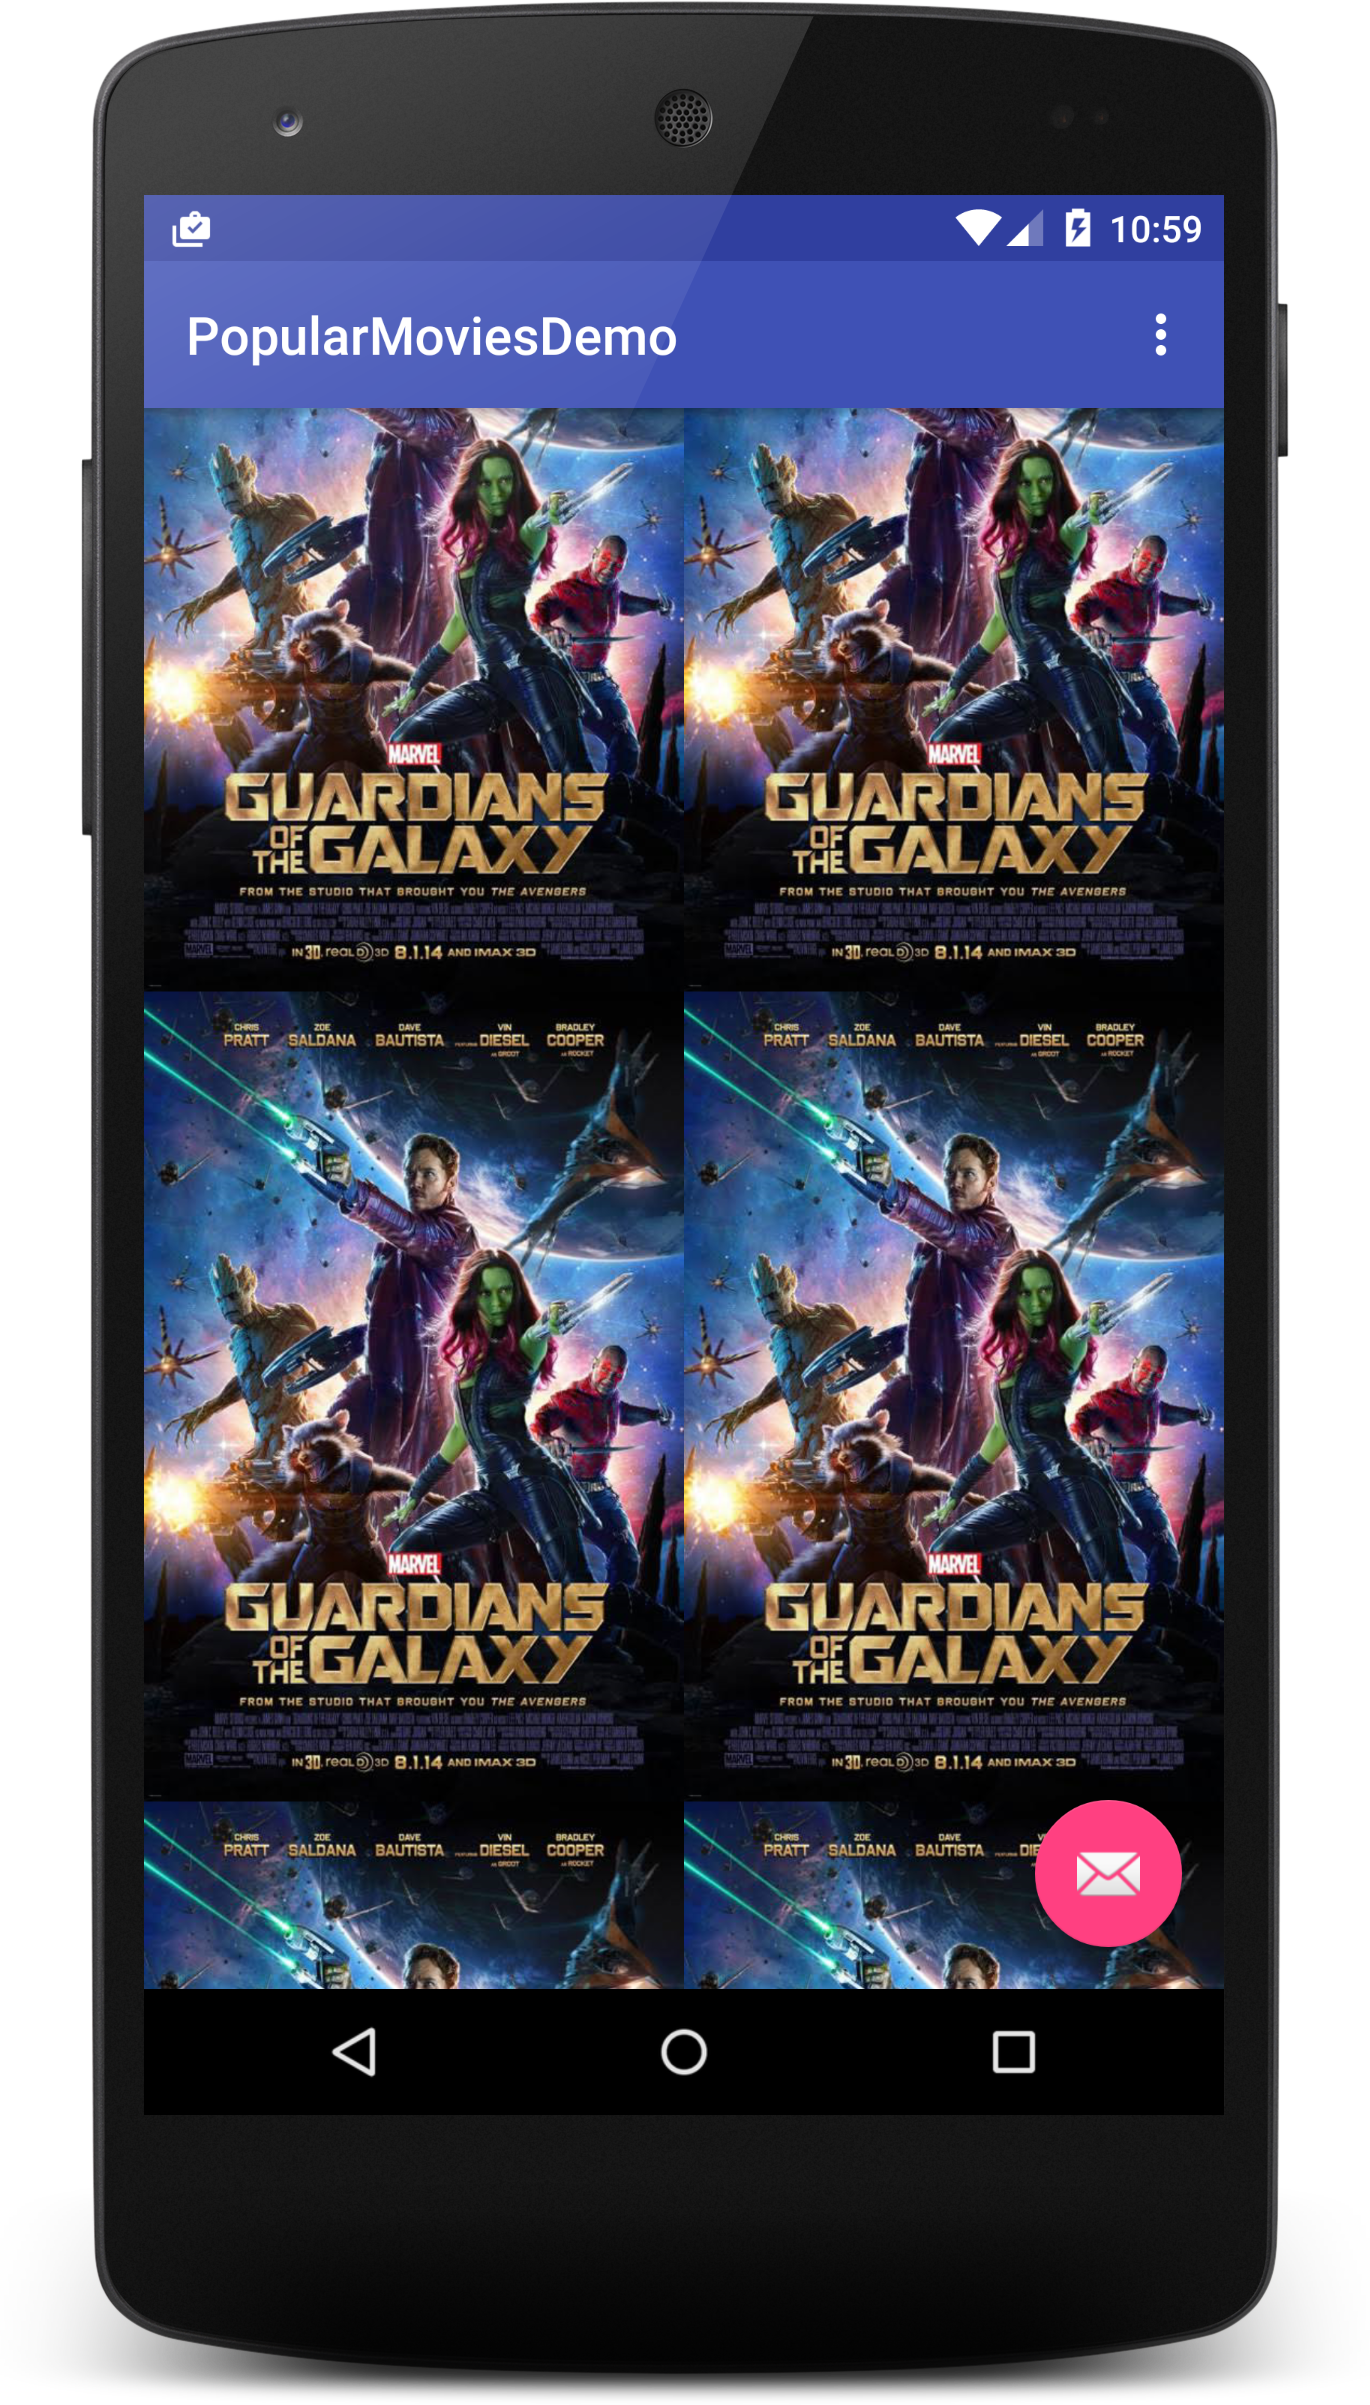
That’s it for part 1. In part two, we will consume a REST Api using Retrofit and show real movie posters. We will also add another activity to view more details about each movie.